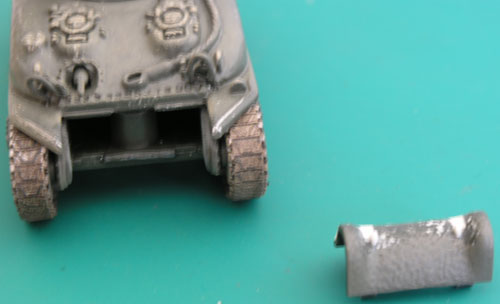
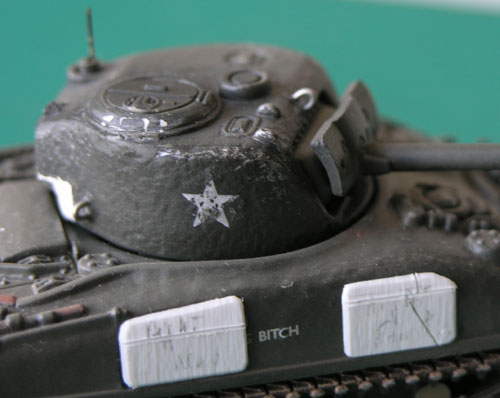
A Photographic Guide

Adapting and improving an Forces of Valor middle 1943 production M4A1

for Wargame purposes

Click on the pictures to enlarge them

     
After removing the piece representing a intermediate (round) cast transmission cover, I basically inserted some plastic to obliterate the holes were the T1E3 device connects
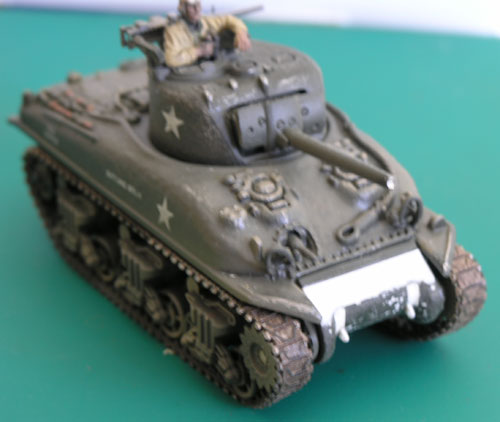
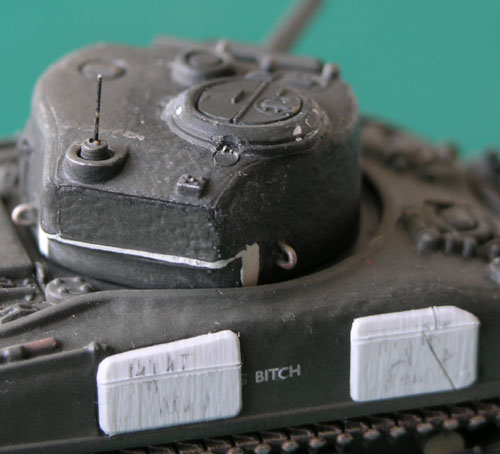
   The view of the final model from the top. Also visible are the plastic piece used to hide the step on the upper transmission due to the FoV's stowage (redundant for me)
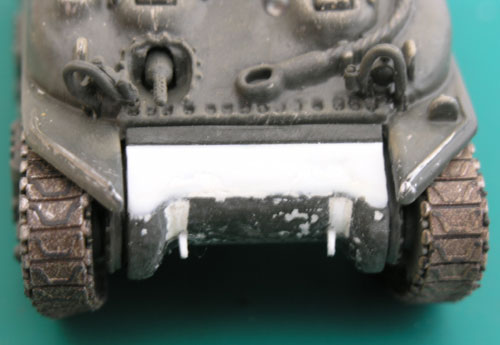
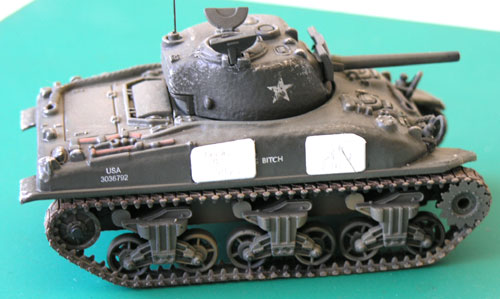
   The front view of the same piece. This part will be painted in an dark OD and high light/dry brushed with Humbrol's M150, and some extra, few stowage, inserted to represent an typical Normandy June-July US M4A1. From this view, on the left, is noticeable the extra width of the bogies.  
             
       
    The hole on the sprocket wheels - attachment points for the T1E3 device - was sealed with a small rod of plastic. The extreme of the main gun was also slight drilled.    
             
         
    Another approach, this time by applying "Quick Fix" or "Appliqué Armour", made from 3~4 mm thick plastic card.    
             
Next step, replace the model's plastic blobs, for real lifting hooks, made from copper wire. The lower bustle also had some work, to disguise the junction of the turret halves.


last update 25/July/2005